6.2. Running on the Simulator#
This section describes how to run the Pick & Place sample code in the simulator.
6.2.1. Preparing the Docker Containers#
Run the following command in any directory to create a workspace and install the necessary packages.
$ git clone --recursive -b <ROS_DISTRO> git@github.com:hsr-project/pick_and_place_example.git
Run the following command to build the Docker image. Replace
/path/to/with the path topick_and_place_example.Note
Building
yolox_wstakes a long time.yolox_ws$ cd /path/to/pick_and_place_example/yolox_ws/docker $ docker compose build
hsrb_pnp_ws$ cd /path/to/pick_and_place_example/hsrb_pnp_ws/docker $ docker compose build
Configure CycloneDDS within the workspace. Modify the following configuration files.
yolox_ws/docker/docker-compose.yaml
Set the
ROS_DOMAIN_IDyourself.environment: - DISPLAY=$DISPLAY - RMW_IMPLEMENTATION=rmw_cyclonedds_cpp - CYCLONEDDS_URI=/root/ros2_ws/docker/cyclonedds_profile.xml - ROS_DOMAIN_ID=XXX - TZ=Asia/Tokyo
hsrb_pnp_ws/docker/docker-compose.yaml
Set the value for
ROS_DOMAIN_IDto the value specified in the file above.environment: - DISPLAY=$DISPLAY - RMW_IMPLEMENTATION=rmw_cyclonedds_cpp - CYCLONEDDS_URI=/home/hsrb/ros2_ws/docker/cyclonedds_profile.xml - ROS_DOMAIN_ID=XXX - IGN_GAZEBO_RESOURCE_PATH=/workdir/src/hsrb_pnp_pkgs/hsrb_pick_and_place/models/
Starting Docker containers
Please run the following commands to start the Docker container. Also, run
xhost +to enable the display of the Docker container’s GUI.yolox_ws$ xhost + $ cd /path/to/pick_and_place_example/yolox_ws/docker $ docker compose up -d
hsrb_pnp_ws$ cd /path/to/pick_and_place_example/hsrb_pnp_ws/docker $ docker compose up -d
Run the following command to confirm that the two containers,
hsrb_pick_and_placeandyolox_ros_onnx_graspnet, have started successfully.$ docker ps -a CONTAINER ID IMAGE COMMAND CREATED STATUS PORTS NAMES c182893db203 hsrb_pick_and_place:latest "/ros_entrypoint.sh …" 6 minutes ago Up 6 minutes hsrb_pick_and_place bef48e709dd0 yolox_ros_onnx_graspnet:latest "/opt/nvidia/nvidia_…" 7 minutes ago Up 7 minutes yolox_ros_onnx_graspnet
6.2.2. Executing Pick & Place#
This section explains how to use Pick & Place.
Follow the steps below to launch the simulator.
$ docker exec -it hsrb_pick_and_place bash
hsrb@computer:~/ros2_ws$ ./launch_hsrb_pnp_ignition_gz.shOnce the simulator launches, you will see two windows: Gazebo and RViz.
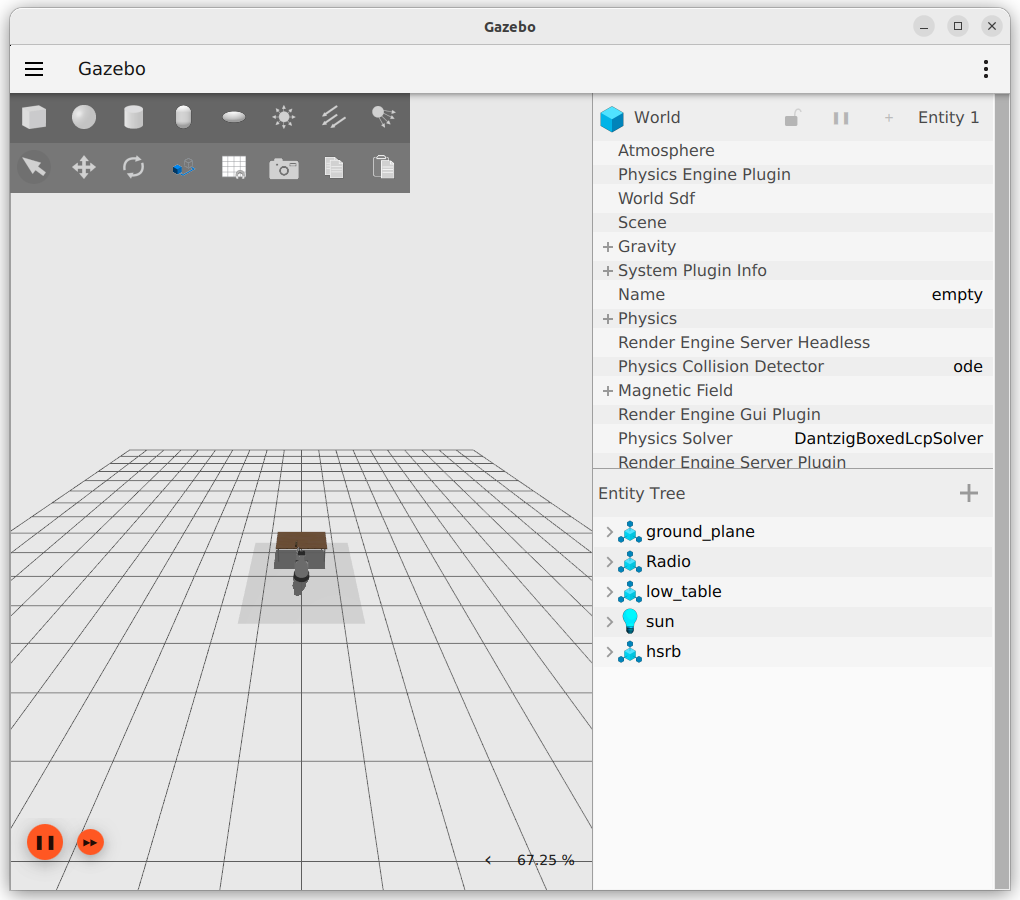
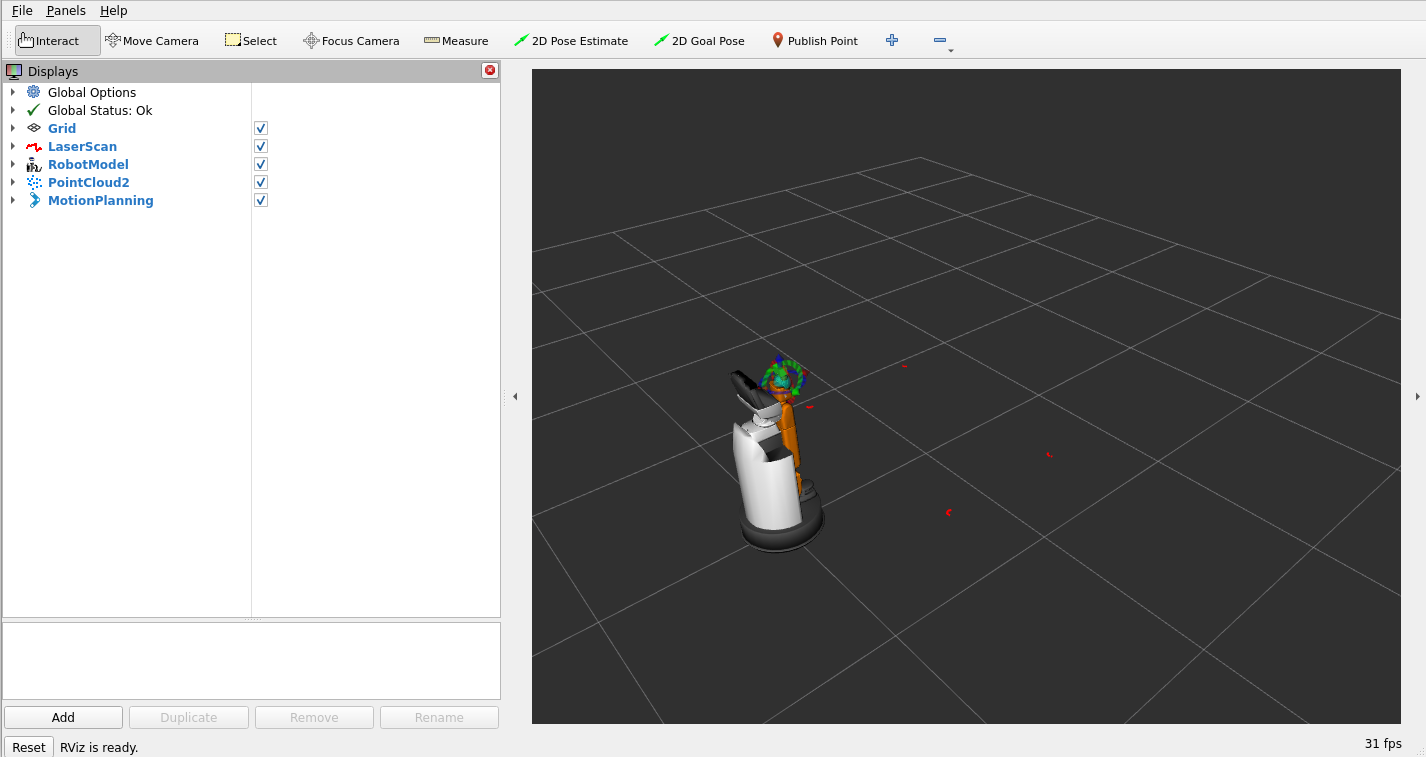
Run the following commands to start the object recognition process using YOLOX and the grasp pose estimation process using GraspNet. Since these processes do not terminate automatically, run the stop command when you want to stop them.
Start command
$ docker exec -it yolox_ros_onnx_graspnet bash
root@computer:~/ros2_ws# cd /workdir
root@computer:/workdir# ~/ros2_ws/start_yolox_graspnet_ros.sh
Stop command
$ docker exec -it yolox_ros_onnx_graspnet bash
root@computer:~/ros2_ws# ~/ros2_ws/stop_yolox_graspnet_ros.sh
When the container launches, you will see the YOLOX screen shown below.
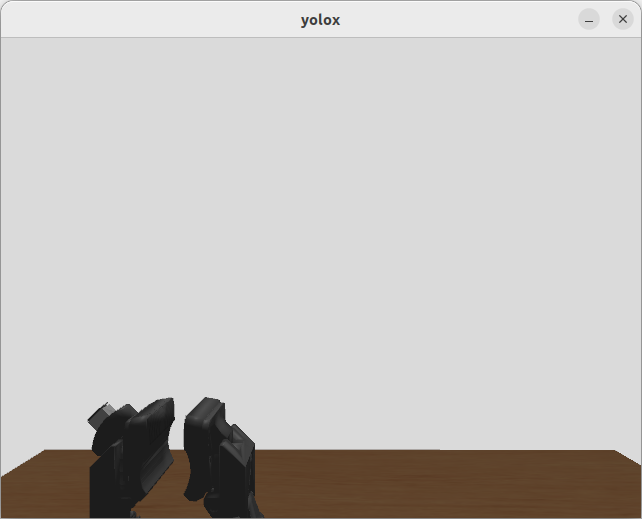
Perform the following steps to start the Pick & Place control system.
$ docker exec -it hsrb_pick_and_place bash
hsrb@computer:~/ros2_ws$ ./start_hsrb_pick_and_place.shRun the following command and point the HSR camera at the target object.
Note
The
{pos: [0.5, 0.12, 0.75]}parameter in the command listed in hsrb_pnp_ws/trigger_gaze.sh represents 3D coordinates relative to HSR’sbase_link, with units in [m].Adjust as necessary so that the target object is within the field of view of HSR.
$ docker exec -it hsrb_pick_and_place bash
hsrb@computer:~/ros2_ws$ ./trigger_gaze.shWhen executed, HSR recognizes the target object as shown below.
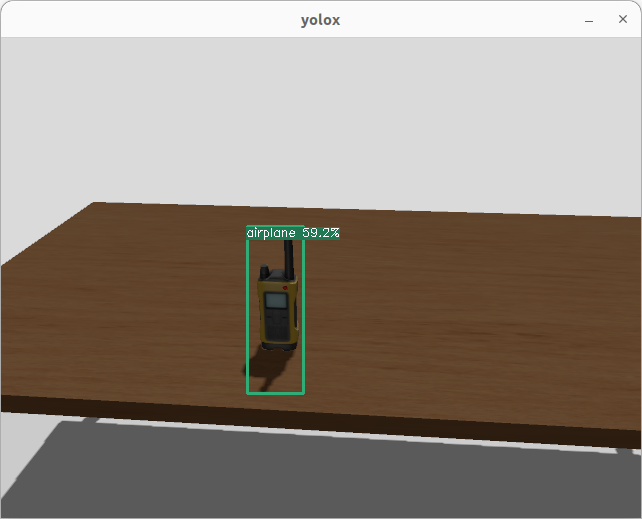
Run the following to launch the command that executes the Pick & Place operation.
Note
The
{pos: [0.6, -0.28, 0.608]}parameter in the command listed in hsrb_pnp_ws/trigger_pnp.sh represents 3D coordinates relative toworld_frame_id, with units in [m].Position the target object within HSR’s field of view so that it can be recognized and grasped.
Note that
world_frame_idvaries depending on the environment: it isworldin the simulation environment andmapin the physical environment.The gripper pose when placing an object is, by default, the same as the pose used when grasping the object. By specifying three-dimensional parameters in radians after the
posparameter, the pose used during grasping can be offset from the default pose.Example:
"{pos: [0.6, -0.28, 0.608, 0.175, 0.0, 0.0]}"
$ docker exec -it hsrb_pick_and_place bash
hsrb@computer:~/ros2_ws$ ./trigger_pnp.shWhen executed, HSR performs the following actions.
Action
Screen
Before the action
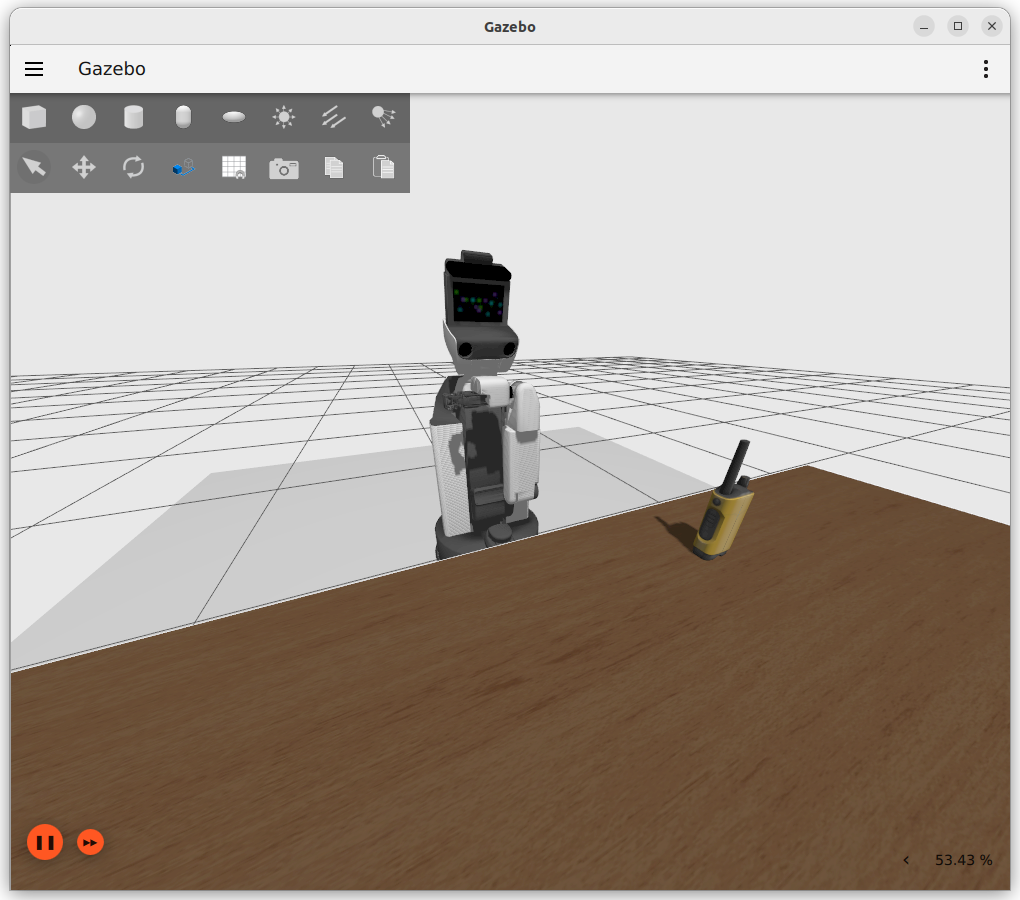
Approach the target
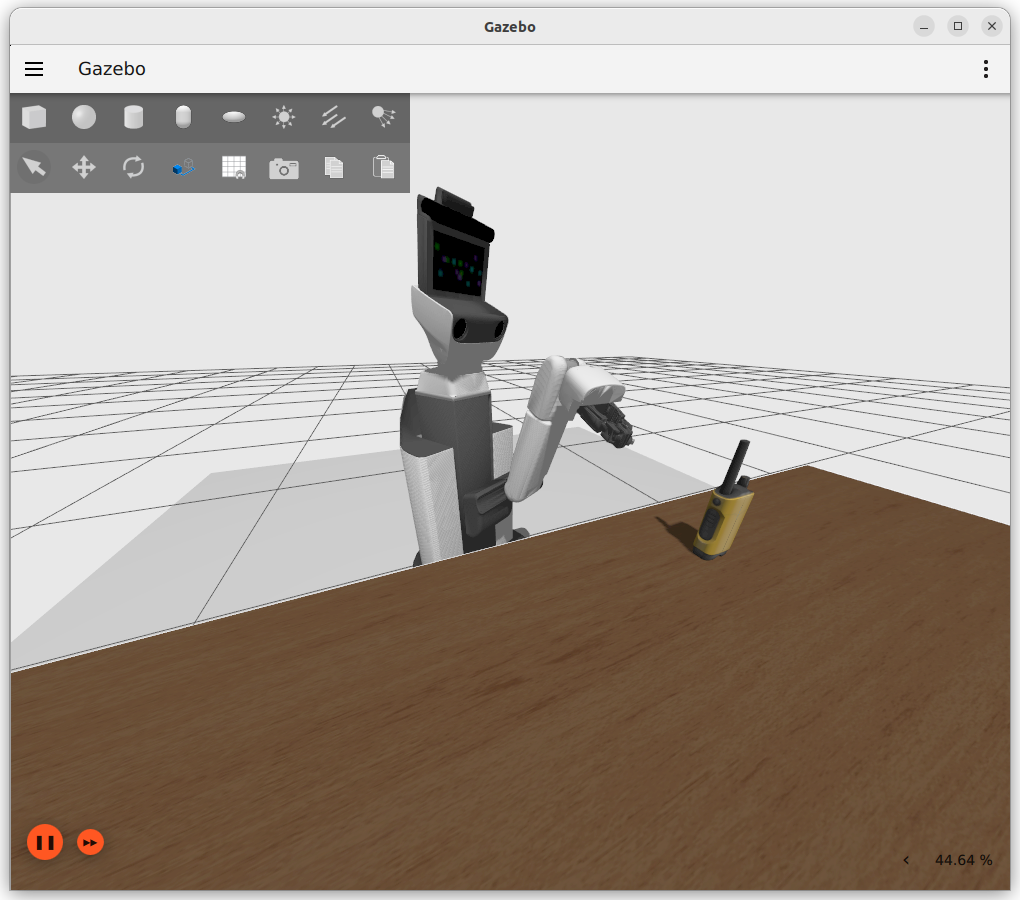
Open the gripper
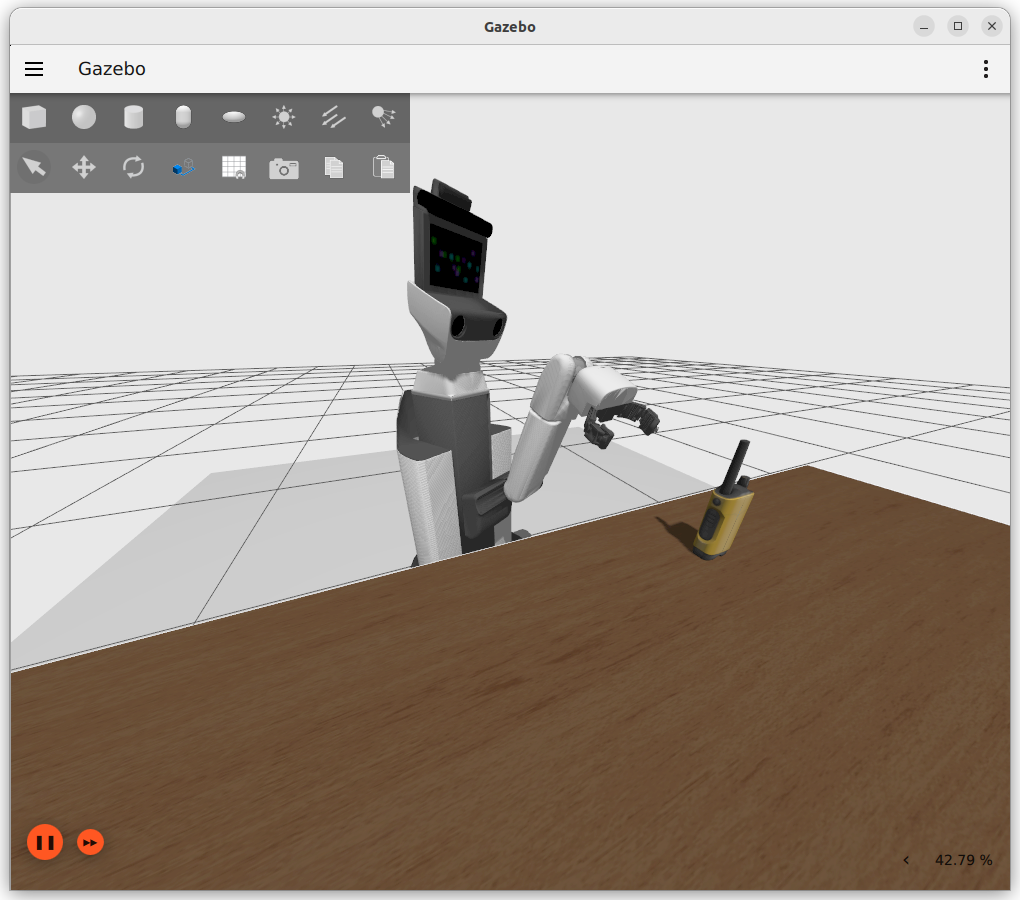
Grasp the object
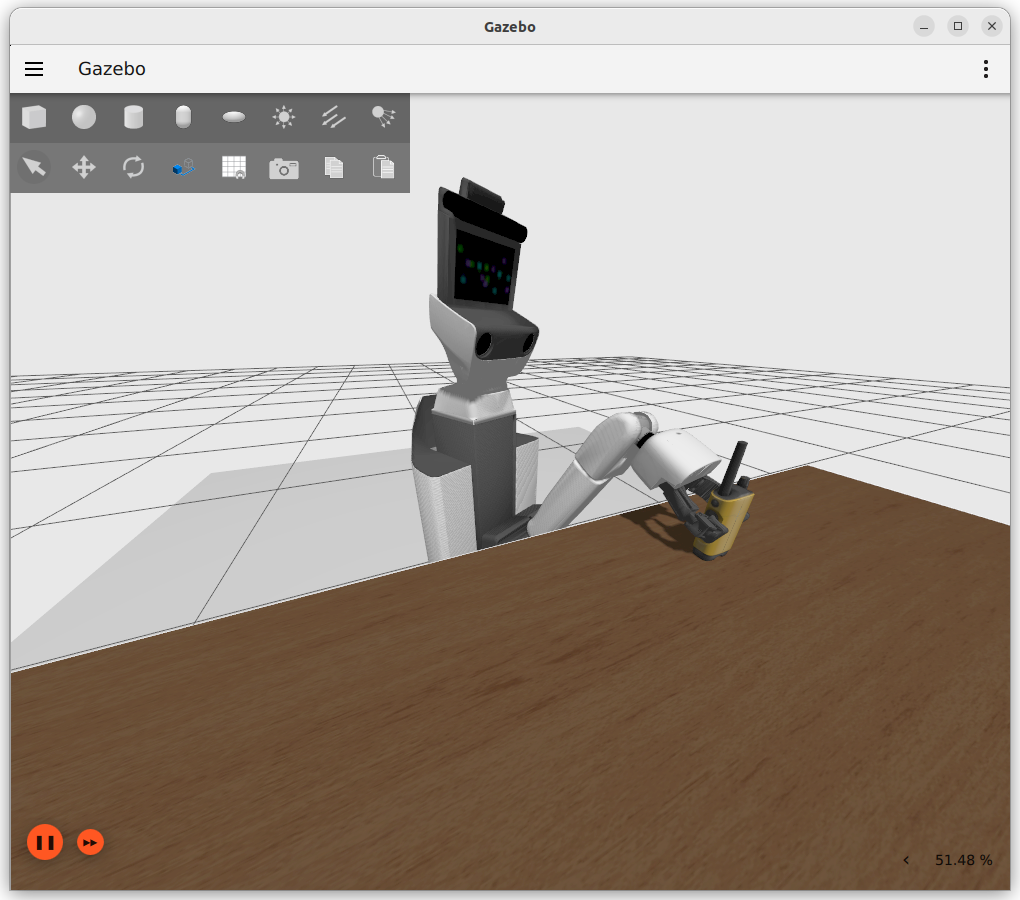
Step back
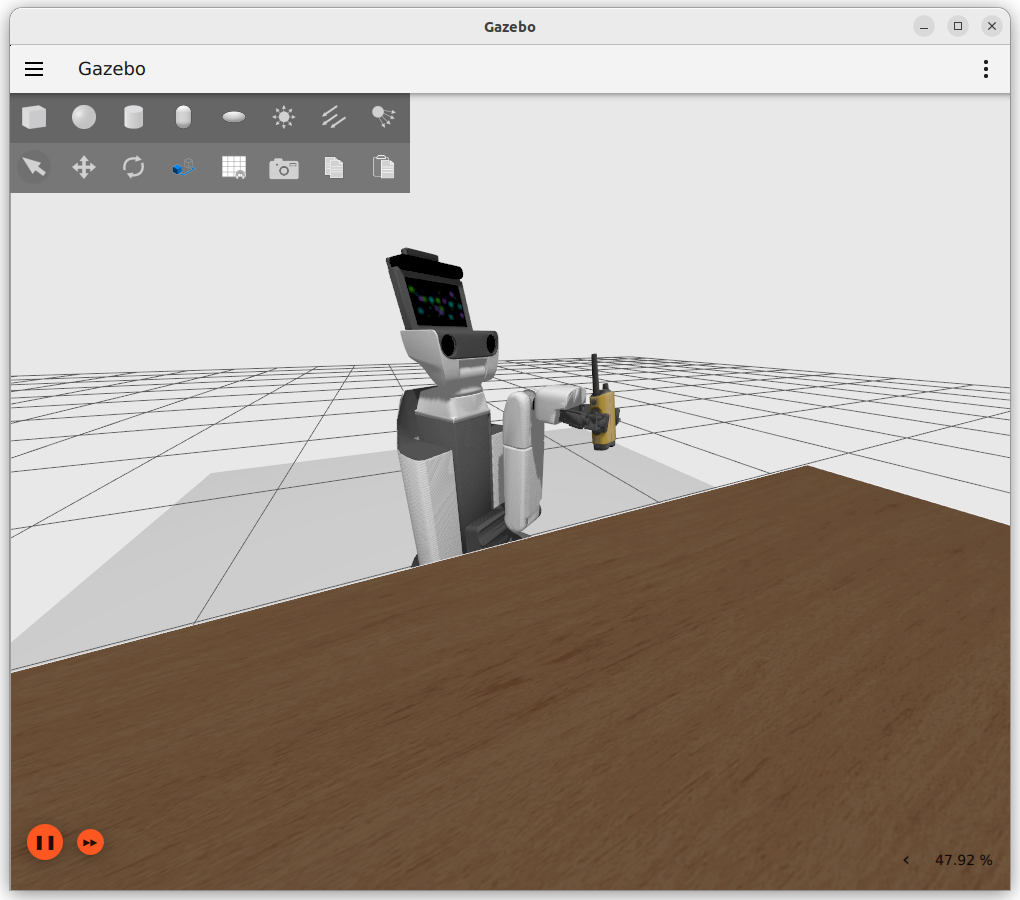
Move to the right
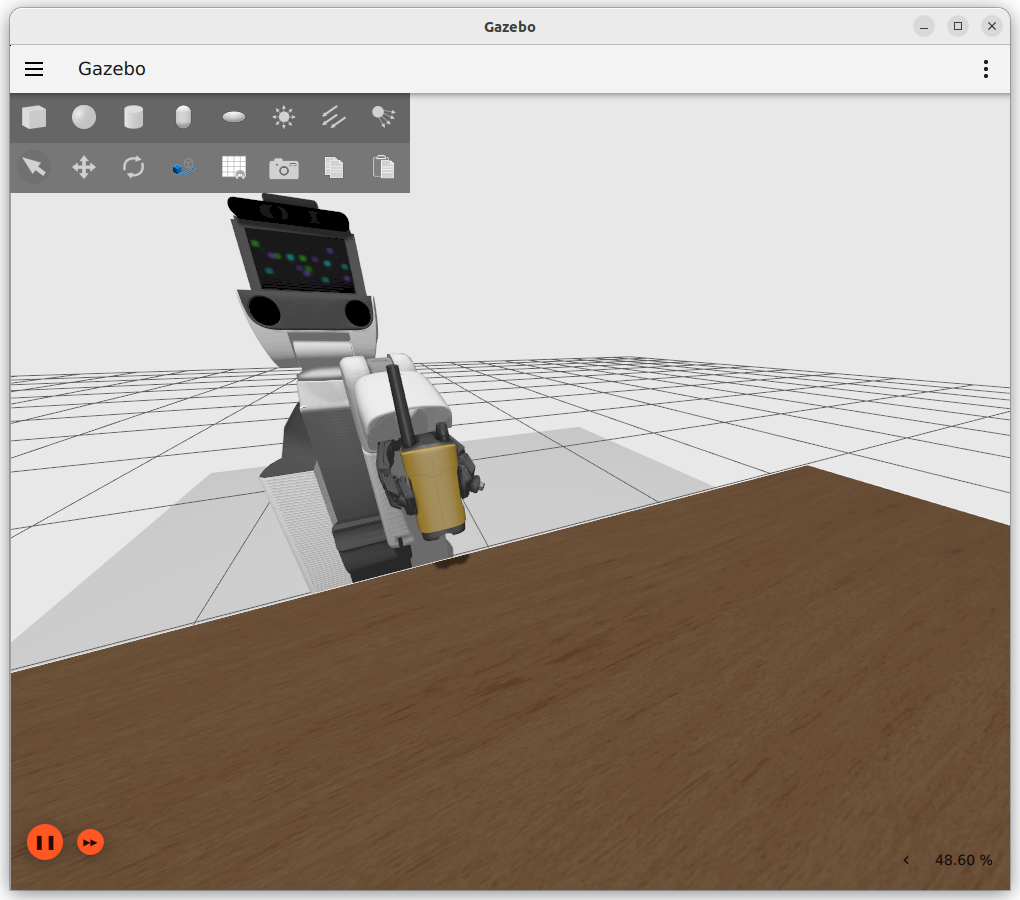
Place the object
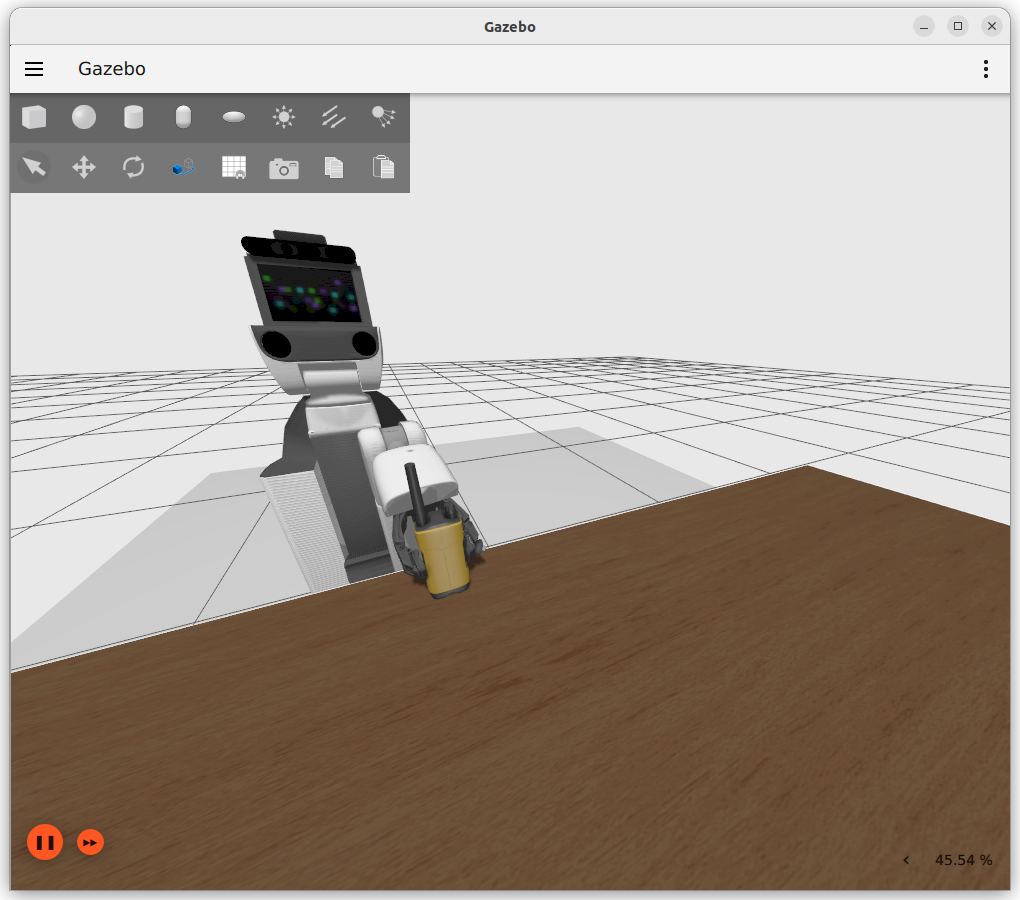
Step back
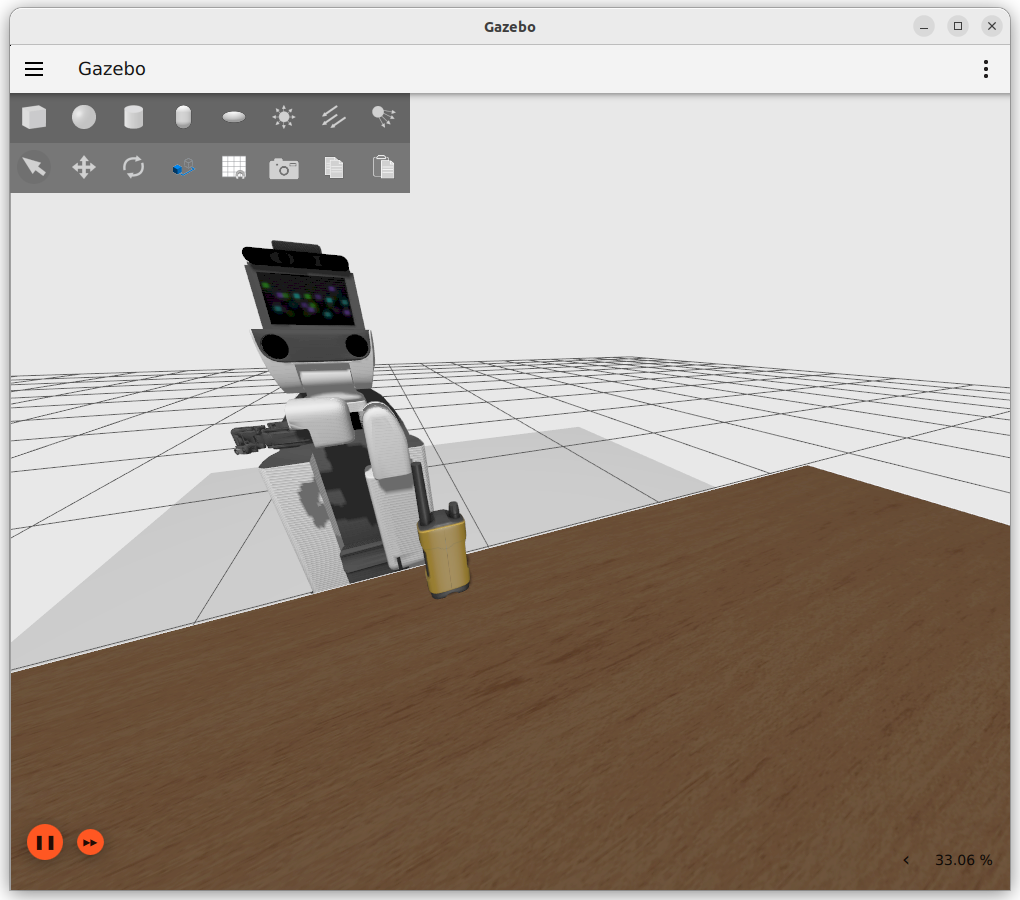
6.2.3. Other Settings and Operations#
Transition to the Initial Pose
To return the HSR arm to its initial pose, perform the following steps.
$ docker exec -it hsrb_pick_and_place bash
hsrb@computer:~/ros2_ws$ cd /workdir
hsrb@computer:~/workdir$ source install/setup.bash
hsrb@computer:~/workdir$ ros2 service call /arm_reset_trigger std_srvs/srv/Trigger "{}"
Automatic Switching of Grasping Surfaces (Near Side / Far Side)
The output of the grasp pose estimation (GraspNet) returns the grasp pose from either the near side or the far side relative to HSR’s current position. If a grasp pose from the far side is returned, the system automatically switches to the opposite near side of the object and returns the grasp pose. The option below allows you to turn this function ON or OFF.
Enable the function (Default)
$ docker exec -it hsrb_pick_and_place bash
hsrb@computer:~/ros2_ws$ cd /workdir
hsrb@computer:~/workdir$ source install/setup.bash
hsrb@computer:~/workdir$ ros2 service call /graspnet_pose_adjust std_srvs/srv/SetBool "{data: true}"
Disable the function
$ docker exec -it hsrb_pick_and_place bash
hsrb@computer:~/ros2_ws$ cd /workdir
hsrb@computer:~/workdir$ source install/setup.bash
hsrb@computer:~/workdir$ ros2 service call /graspnet_pose_adjust std_srvs/srv/SetBool "{data: false}"
This completes the Pick & Place operation.