1. シミュレータ環境のセットアップ#
1.1. ROS2や必要なツールのインストール#
以下を参考に、ROS2をインストールしてください。
humble : https://docs.ros.org/en/humble/Installation/Ubuntu-Install-Debs.html
jazzy : https://docs.ros.org/en/jazzy/Installation/Ubuntu-Install-Debs.html
また、必要なツールをインストールしてください。
$ sudo apt update
$ sudo apt install -y python3-colcon-common-extensions python3-rosdep
$ sudo rosdep init
$ rosdep update
1.2. シミュレーション用のワークスペースの作成#
ワークスペースを作成し、必要なパッケージを取得してください。
以降 <ROS_DISTRO> と表記されている箇所には、使用するディストリビューション名( humble または jazzy)を入力してください。
$ source /opt/ros/<ROS_DISTRO>/setup.bash
$ mkdir -p ~/hsr_ros2_ws/src && cd ~/hsr_ros2_ws/src
$ git clone -b $ROS_DISTRO https://github.com/hsr-project/hsrb_controllers.git
$ git clone -b $ROS_DISTRO https://github.com/hsr-project/hsrb_common.git
$ git clone -b $ROS_DISTRO https://github.com/hsr-project/hsrb_drivers.git
$ git clone -b $ROS_DISTRO https://github.com/hsr-project/hsrb_launch.git
$ git clone -b $ROS_DISTRO https://github.com/hsr-project/hsrb_manipulation.git
$ git clone -b $ROS_DISTRO https://github.com/hsr-project/hsrb_rosnav.git
$ git clone -b $ROS_DISTRO https://github.com/hsr-project/hsrb_simulator.git
$ git clone -b $ROS_DISTRO https://github.com/hsr-project/hsr_common.git
$ git clone -b $ROS_DISTRO https://github.com/hsr-project/hsrb_teleop.git
$ git clone -b $ROS_DISTRO https://github.com/hsr-project/tmc_gazebo.git
$ git clone -b $ROS_DISTRO https://github.com/hsr-project/tmc_teleop.git
$ git clone -b $ROS_DISTRO https://github.com/hsr-project/tmc_common.git
$ git clone -b $ROS_DISTRO https://github.com/hsr-project/tmc_common_msgs.git
$ git clone -b $ROS_DISTRO https://github.com/hsr-project/tmc_drivers.git
$ git clone -b $ROS_DISTRO https://github.com/hsr-project/tmc_database.git
$ git clone -b $ROS_DISTRO https://github.com/hsr-project/tmc_manipulation.git
$ git clone -b $ROS_DISTRO https://github.com/hsr-project/tmc_manipulation_base.git
$ git clone -b $ROS_DISTRO https://github.com/hsr-project/tmc_manipulation_planner.git
$ git clone -b $ROS_DISTRO https://github.com/hsr-project/tmc_point_cloud.git
$ git clone -b $ROS_DISTRO https://github.com/hsr-project/tmc_realtime_control.git
$ git clone -b $ROS_DISTRO https://github.com/hsr-project/tmc_voice.git
$ git clone -b $ROS_DISTRO https://github.com/hsr-project/tmc_navigation.git
$ rm -rf hsrb_launch/hsrb_robot_launch
$ rm -rf hsrb_simulator/hsrb_rviz_simulator
$ rm -rf tmc_drivers/tmc_pgr_camera
ビルドしてください。
$ cd ~/hsr_ros2_ws/
$ rosdep install --from-paths . -y --ignore-src
$ colcon build --symlink-install --cmake-args -DCMAKE_BUILD_TYPE=Release
$ source install/setup.bash
1.3. シミュレータの確認#
前節 で作成したワークスペースで、 以下を実施してシミュレータの確認を行ってください。
なお、
ROS_DOMAIN_ID=XXXを各自変更してください。$ ros2 daemon stop $ export ROS_DOMAIN_ID=XXX $ source /opt/ros/<ROS_DISTRO>/setup.bash
$ cd ~/hsr_ros2_ws/
$ source install/setup.bash
$ ros2 launch hsrb_gazebo_launch hsrb_apartment_no_objects_world.launch.py
ros2 launch hsrb_gazebo_launchの後に続いて「Tab」キーを2回押すことで、 他のlaunchファイルを確認することができます。使用するHSRやワールドに応じて選択してください。
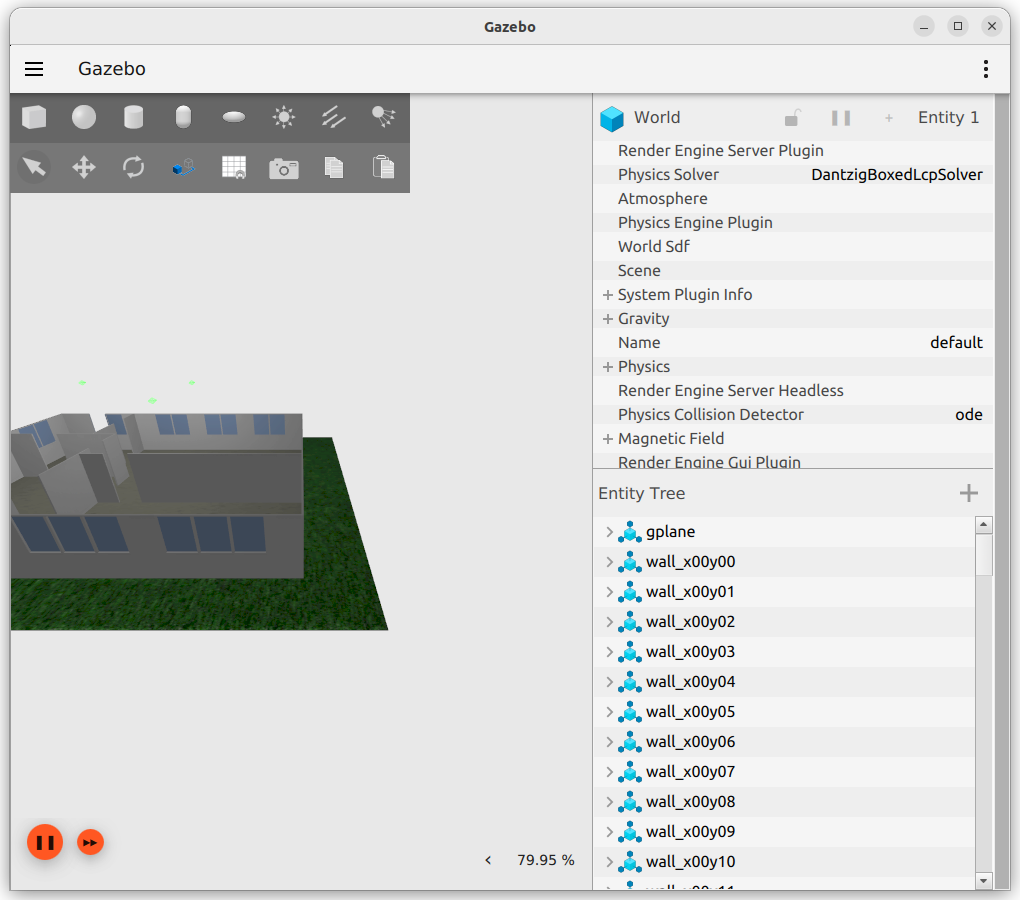
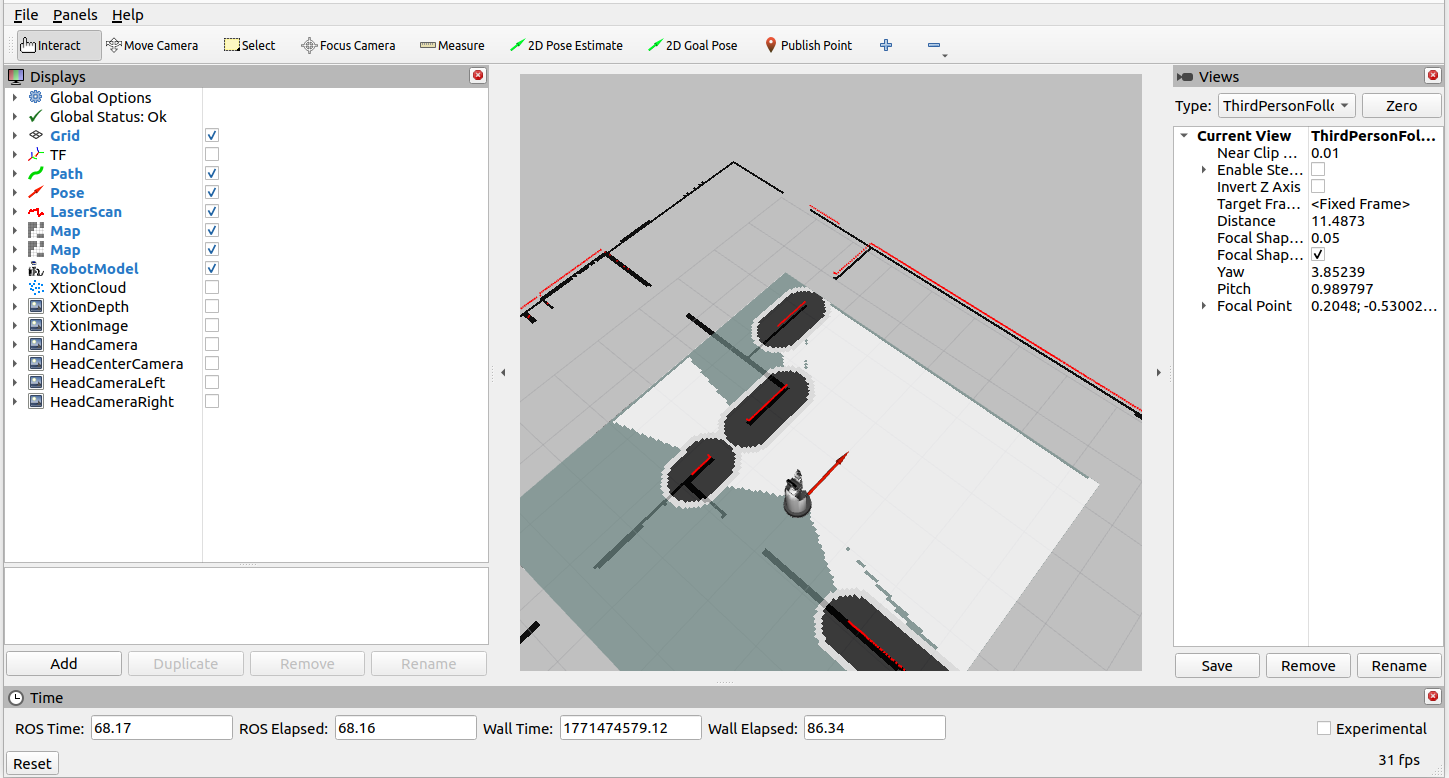
以下のようにGazeboとRVizの2つの画面が確認できたら、シミュレータの確認は完了です。
なお、シミュレータを終了させたい場合はシミュレータを起動したターミナルで「Ctrl」+「C」キーを押すことで終了させることができます。
Gazebo
RViz
注釈
PCのスペックによっては、Gazeboの初回起動に時間がかかる場合があります。
その場合は、問題を切り分けるために以下のコマンドを実行してください。
$ cd ~/hsr_ros2_ws/
$ source install/setup.bash
$ ros2 launch hsrb_gazebo_launch hsrb_empty_world.launch.py
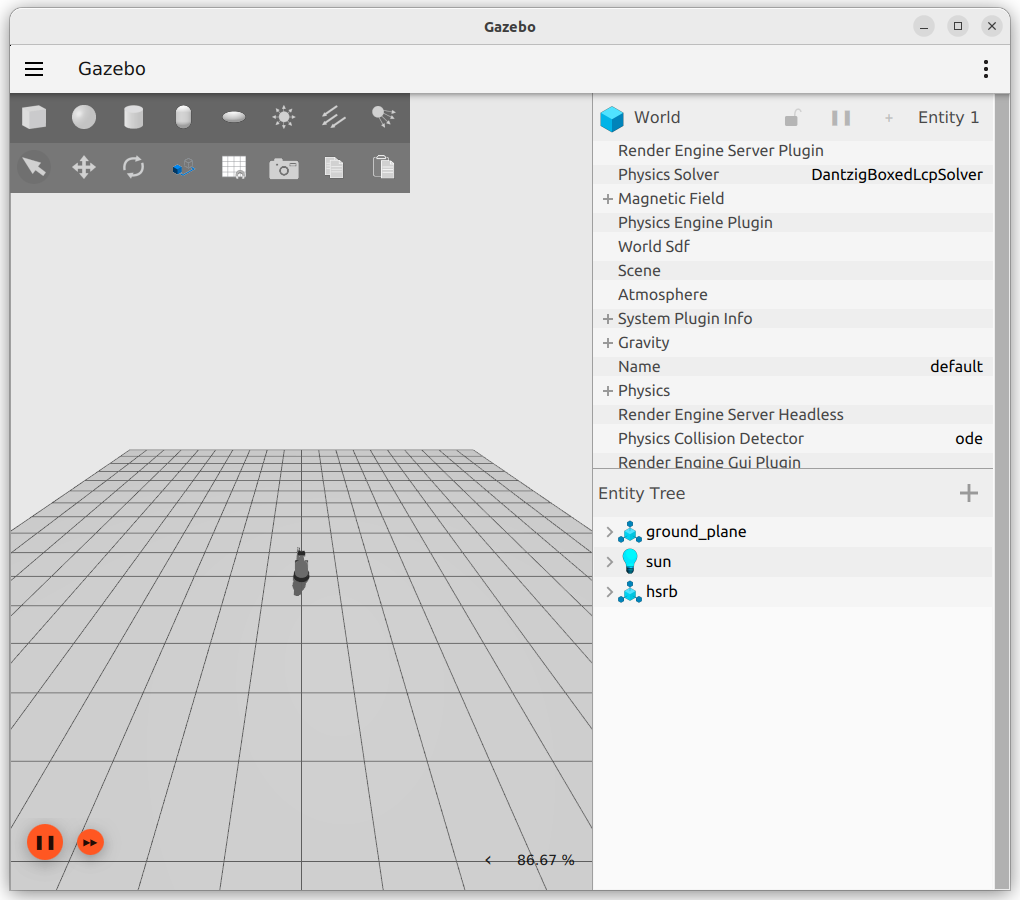
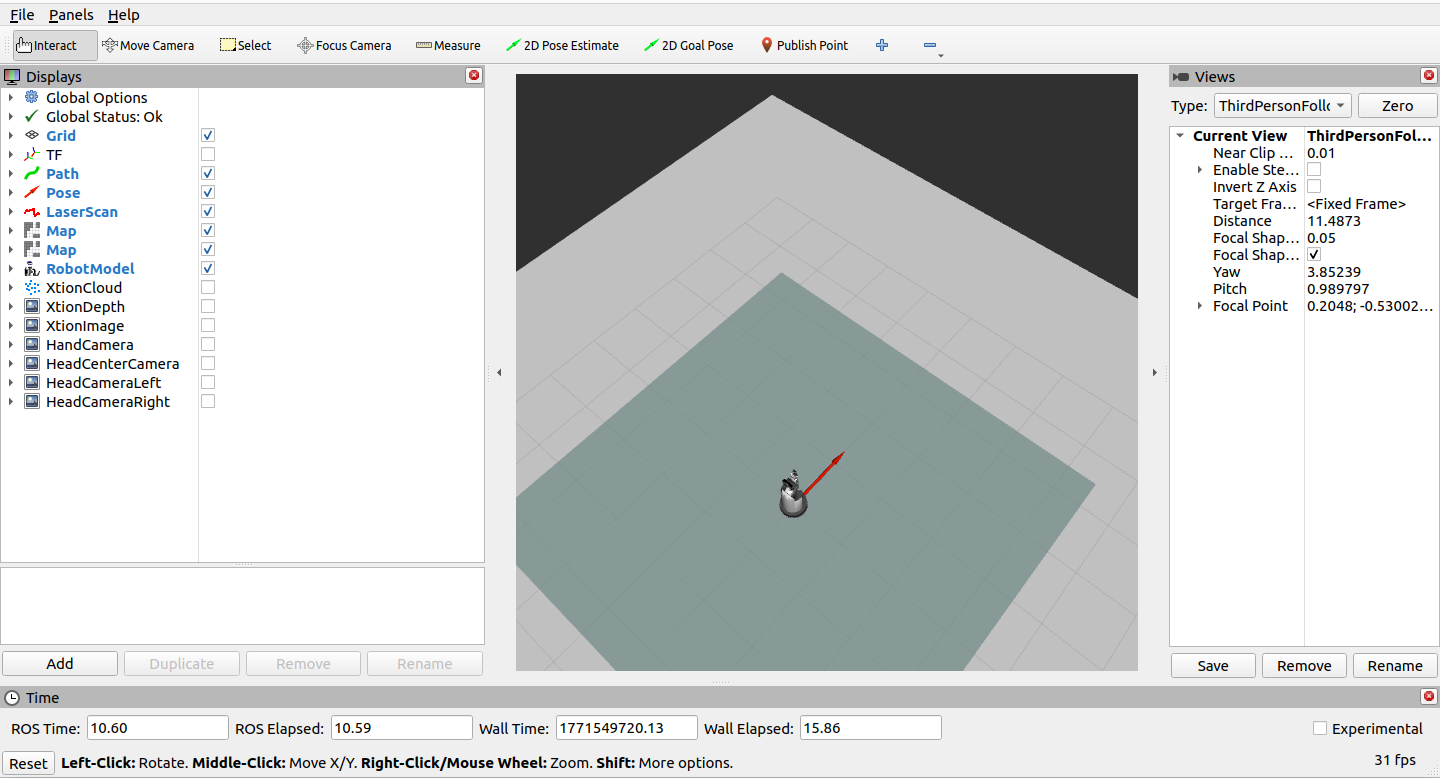
GazeboとRVizの2つの画面が以下のように表示されれば正常に起動しています。
この場合は、初回起動に時間を要しただけである可能性が高いです。
Gazebo
RViz
GazeboとRVizが1のように表示されない場合は、10分程度放置してください。
それでも表示されない場合は、そのPCは動作に必要なスペックを満たしていない可能性があります。